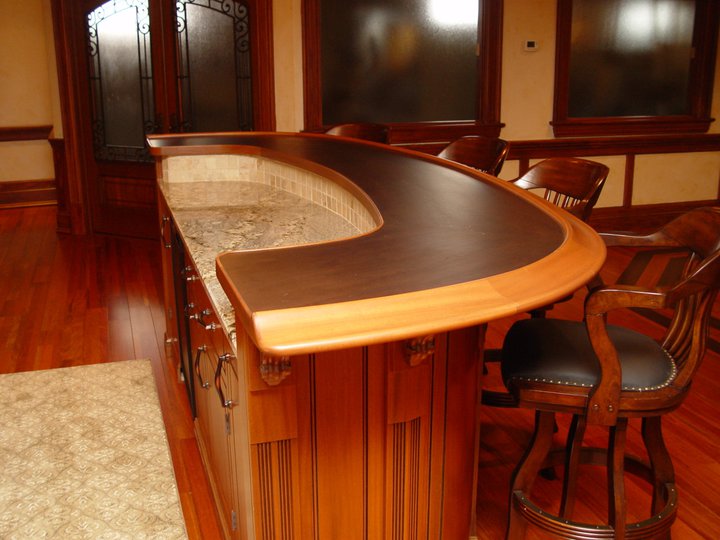
Attaching a bar rail to the bar top doesn’t have to be a confusing and difficult task. The trick is to make sure you are prepared to do it and do it the correct way. If you have any experience with similar wood projects, this could easily be a good DIY project. Either way using some instruction and taking some pointers to heart will help make sure your project has the end result you were hoping to achieve.
To carry out this project for attaching the bar rail and the end cap, there are some basic supplies you will need such as:
- Wood glue
- Sand paper
- Brad nailer
- Drop cloth and rags – just to be safe
- Plus of course the bar rail and end cap
The main goal, obviously, is to attach the end cap to the rail so that everything is flush and smooth and looks as though it came as one piece originally. The look for the rail on the bar top varies on the style you get or look you want. Some bars are designed to have everything flush and others allow for some “lip” overhang on the sides.
Here are some pointers to consider:
- When you look at your bar rail from the side, you will probably see an upper groove and a lower one. The main goal is to butt the top groove against the top and the other groove should fit neatly into place with the lower groove.
- If the two grooves are not parallel or not fitting into place as needed, you will likely need to create a wedge to mount to fit into the second notch. This will make everything secure. For the best support, the top groove should naturally fit into place. Then creating a way to fit the secondary groove into place is the key. Without a proper fitting supporting the second groove, any weight placed on that “weak” spot of the bar rail could cause it to loosen or even break free.
- The top portion for the upper groove is considered the finished top, while the second part that sticks out further and fits the lower groove is considered the structural top. This should help you understand that while it is crucial to fit the top grove as the primary, the lower groove is responsible for structure and support.
Once in place, the end cap for the bar rail completes the look. This hides the unfinished edge and helps hide the seams where the grooves rest into the lips. Working with unfinished wood also means the final part of the project involves concealing any nail holes with filler. You may also need to tape the end cap into place while the glue dries to ensure that it stays in place.
Finally you will use the finish or stain of your choice to complete the look. The final result is the bar rail and finished bar you always dreamed of having.
Here are some other tips for getting your bar rail project done right:
